Free shipping over $35
-
Jewelry Designs & Kits
-
Earring Designs & Kits
- A New Leaf Earrings
- Acorn Earrings
- Autumn Love Earrings
- Bellisimo Earrings
- Camelia Tea Earrings
- Ceramic Twist Earrings
- Chai Earrings
- Chloe Earrings
- Cloisonne Drop Earrings
- Country Rose Earrings
- Crystal Square Earrings
- Delicata Earrings
- Dragonfly Earrings
- Drops of Elegance Earrings
- Druzy Drops Earrings
- Edna's Elegance Earrings
- Flourish Blossom Earrings
- Frozen Earrings
- Healing Waters Earrings
- Icicle Earrings
- Illumination Earrings
- Lost in the Woods Earrings
- Lotus Earrings
- Lucy Earrings
- Mermaid Inspired Earrings
- Miss Ivy Earrings
- Morrigan Earrings
- Mosaic Earrings
- Mosaic Splash Earrings
- Plumage Earrings
- Rivoli Filigree Earrings
- Spindle Earrings
- Summer Butterfly Earrings
- Sunburst Earrings
- Tapered Bead Earrings
- Tibetan Capped Earrings
- Tuesday Wednesday Earrings
- Vibrant Dragonfly Earrings
- Other Earring Kits
- Earrings - Ready to Wear
- Bracelet Designs & Kits
- Bracelets - Ready to Wear
-
Necklace Designs & Kits
- A New Leaf Necklaces
- Amazing Necklaces
- Beading Chain Adjustable Interchangeable Necklace
- Berries Necklace
- Big Heart Necklace
- Carol's Butterfly Necklace
- Dainty Daisy Necklace
- Day at the Beach Necklaces
- Dragon's Blood Necklace
- Dragonfly Fantasy Necklace
- Earth & Sea Necklace
- Enchantment Necklace
- Filigree Slider Necklace
- Flourish Blossom Necklace
- Flying in Formation Necklace
- Labradorite Mist Necklace
- Loveletter Necklace
- Marine Mist Necklace
- Mediterranean Cruise Necklace
- Mermaid Inspired Necklaces
- Ocean Sunset Necklace
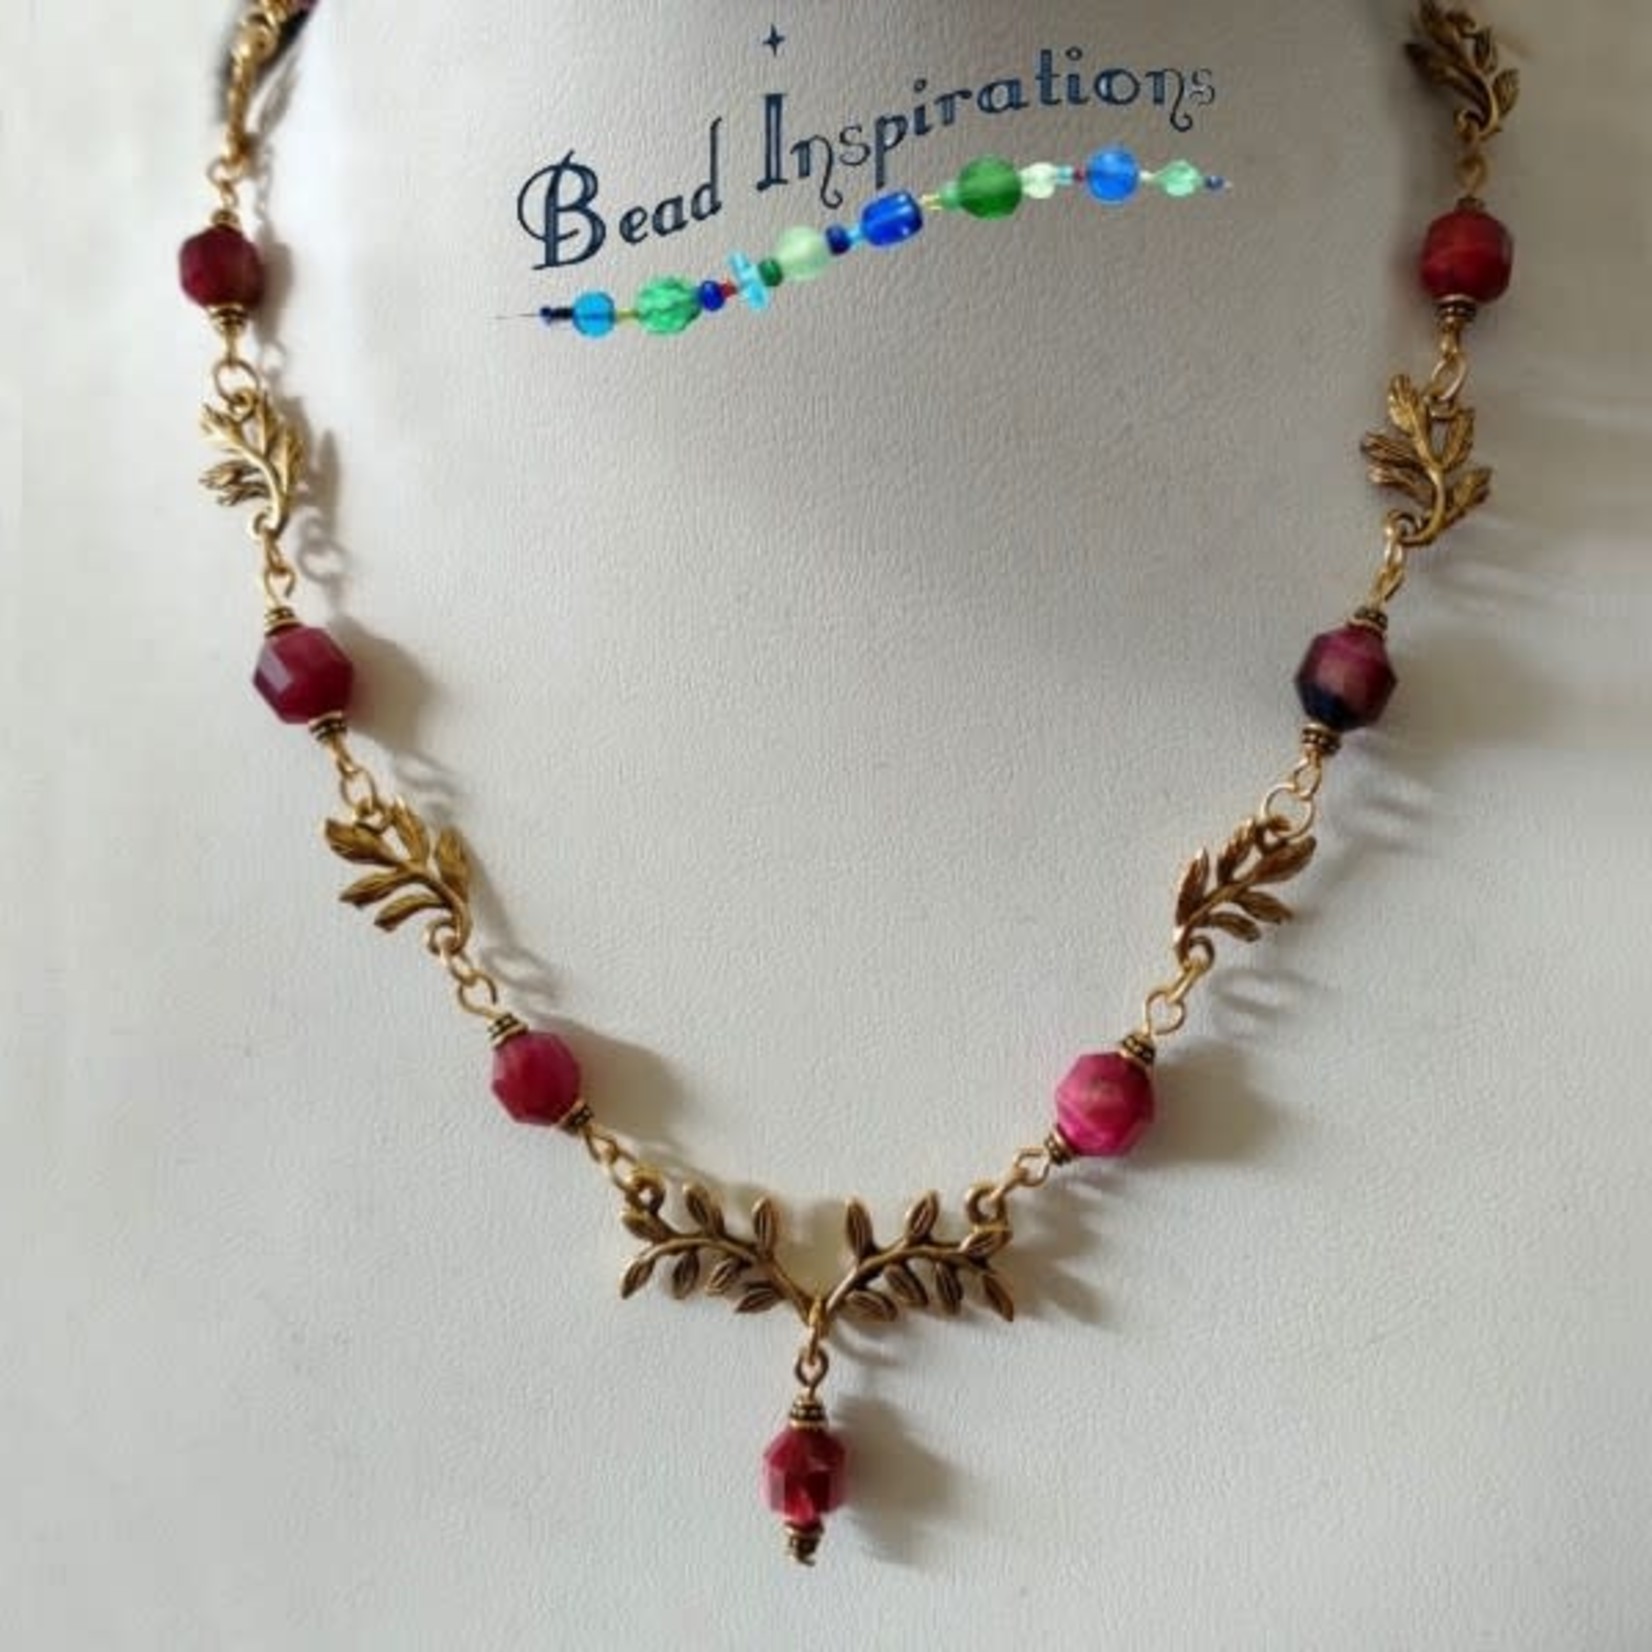
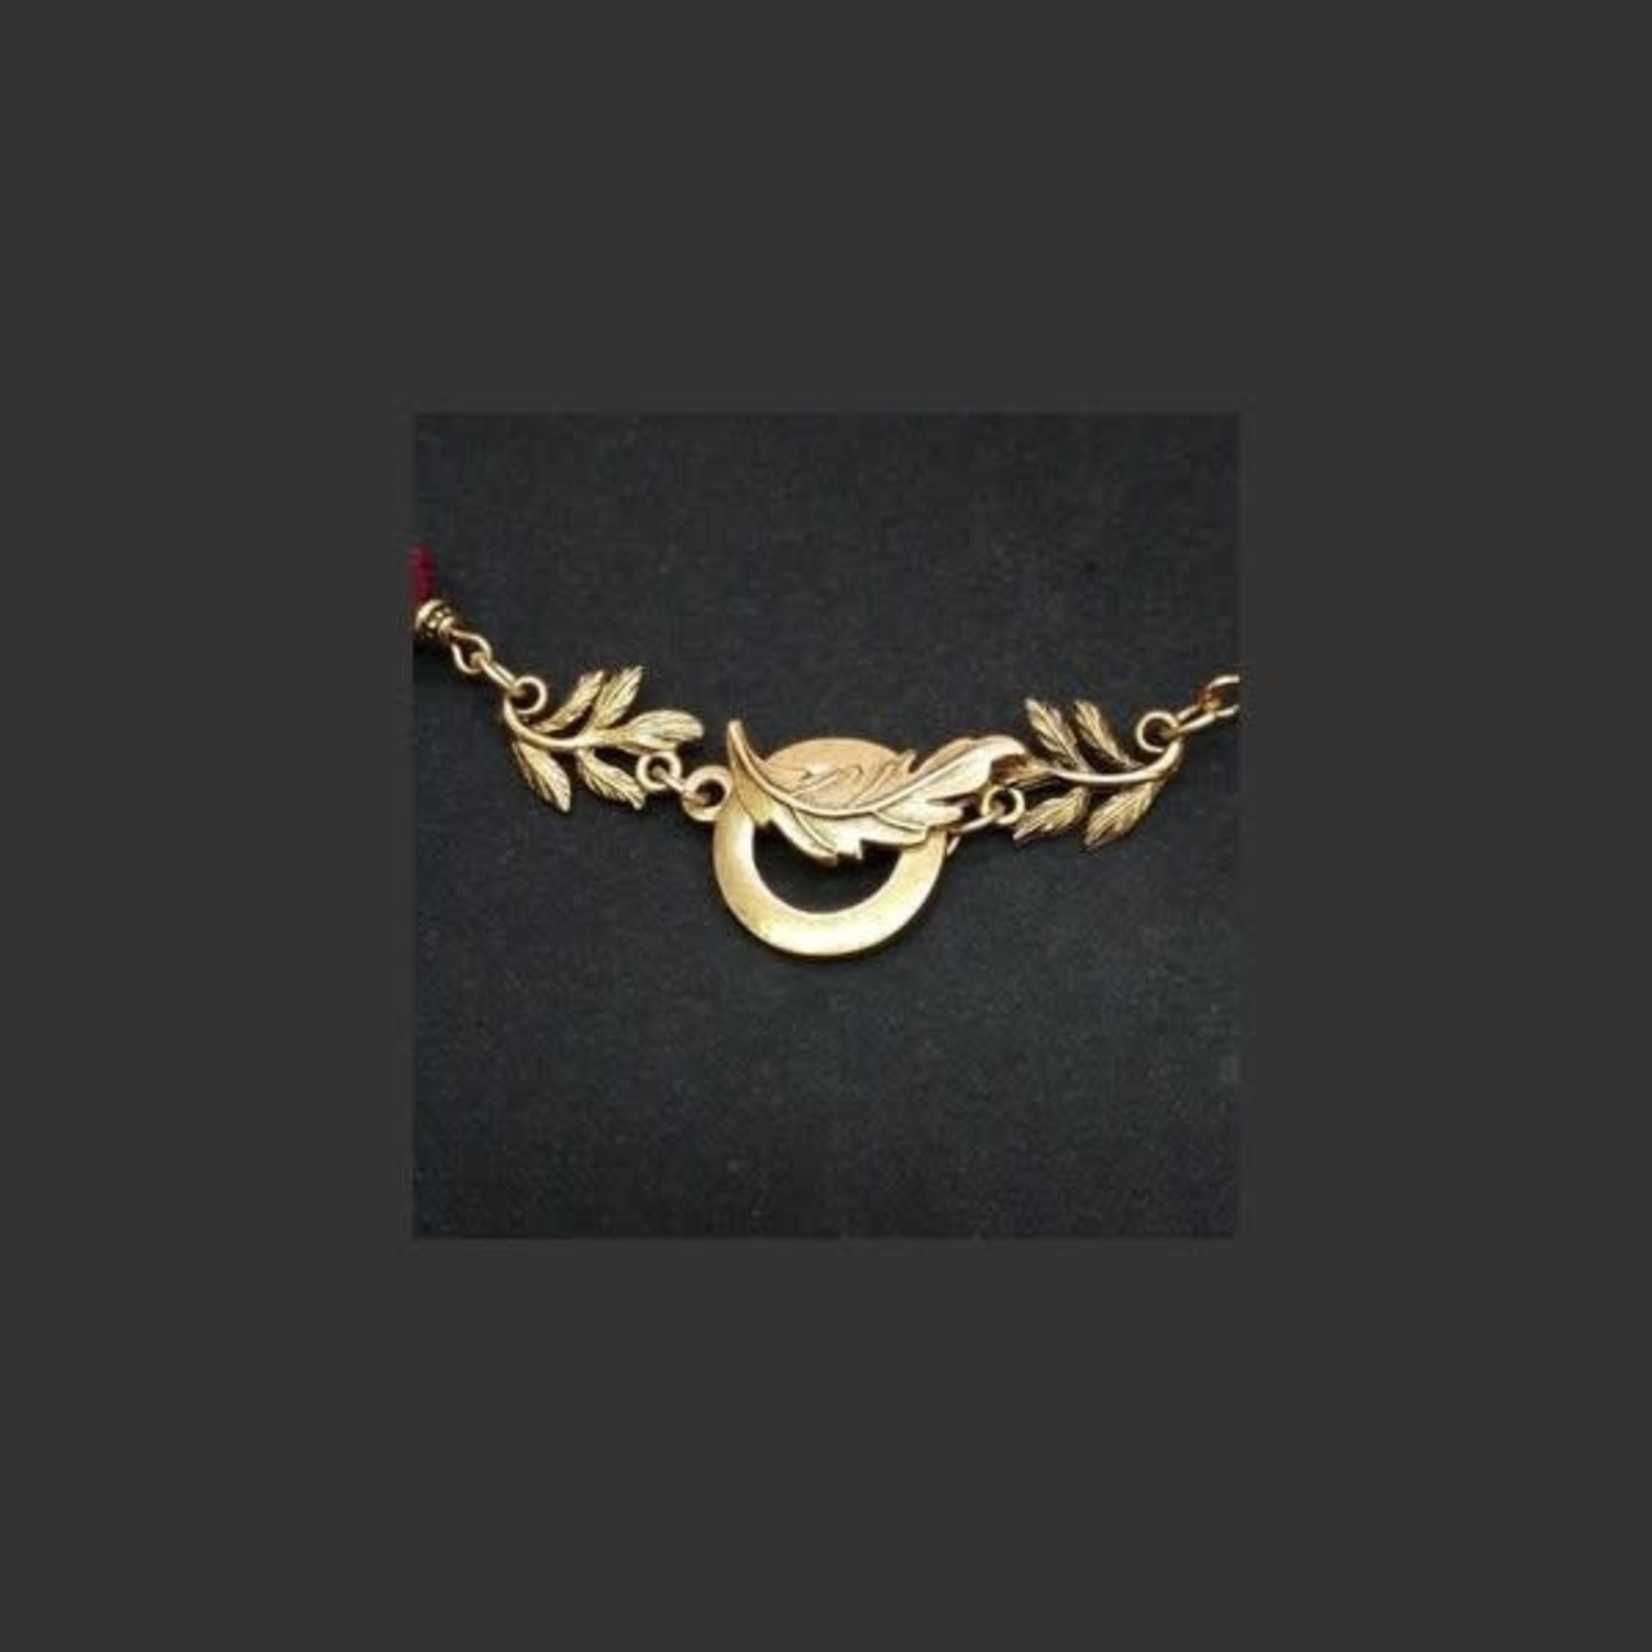
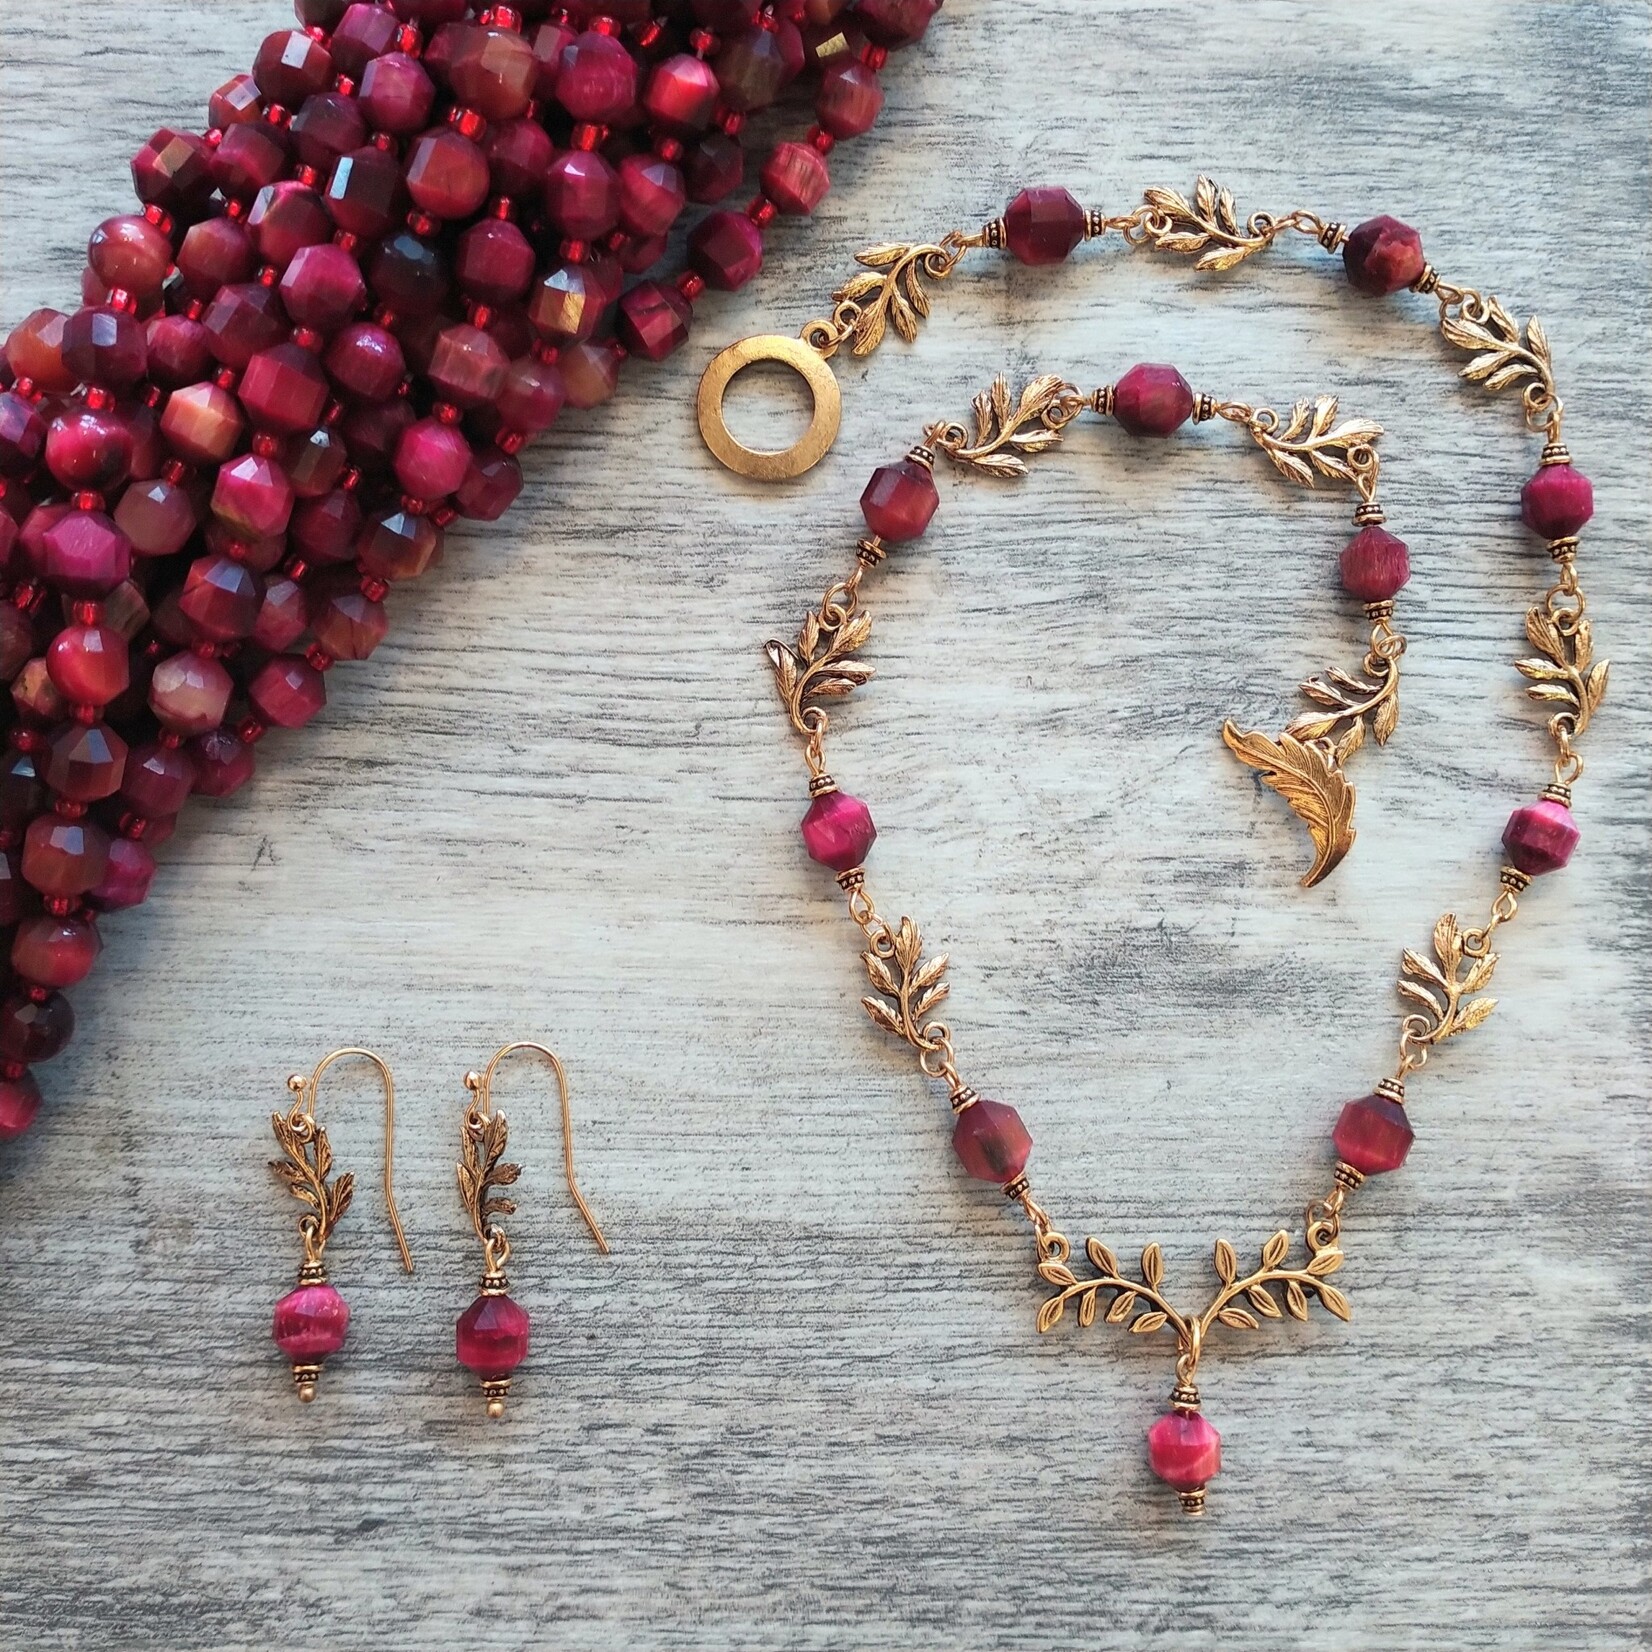
- Ruby Wednesday Necklace
- Southwest Oasis
- Tuesday Wednesday Necklaces
- White Rose Necklace
- Other Necklace Kits
- Sundance Inspired Necklace
- Necklaces - Ready to Wear
- Cord & Clasp Kit
- Printed Instructions
-
Beads & Stones
- Ceramic Beads
- Crystal Beads
- Cloisonne Beads
-
Gemstone Beads
- Agate
- Amazonite
- Amethyst
- Angelite
- Apatite
- Aquamarine
- Black Gemstones
- Calcite
- Composite
- Druzy
- Fluorite
- Fossil Stone
- Garnet
- Hematite
- Jade
- Jasper
- Kyanite
- Labradorite
- Lapis
- Lava
- Lemon Chrysoprase
- Moonstone
- Opal
- Peridot
- Pyrite
- Quartz Gemstones
- Sakura Chalcedony
- Spinel
- Sodalite
- Tibetan Capped Beads
- Tiger Eye
- Turquoise & Magnesite & Howlite
- Onyx
- Ruby
- Gemstone Rings
- Other Gemstones
- Gemstone Beads by Size/Shape
- Glass Beads
- Lucite, Plastic, Polymer Beads
- Metal Beads
- Natural Beads
- Stones with No Holes
- Treasures From the Sea
- Letter Beads
- Bezeled Stones
- Guru Beads
- Charms & Pendants
- Findings & Chain
- Tools & Supplies
- Collections
- Classes
- Clearance & Bargains!
- Gift cards
- Email List Sign Up